Hmmm!! Seems like your cell phone charging port is calling for help. Well in that case, you’ve landed at the right place. In the fast-paced realm of modern communication, our smartphones have become extensions of ourselves, faithfully aiding us in our daily endeavors. However, as we indulge in the myriad of features they offer, we often neglect the humble charging port, allowing it to accumulate debris and dust, disrupting the seamless flow of energy from our chargers.
Fear not! In this comprehensive guide, we’re going to delve into the art of cleaning your cell phone’s charging port with five easy and effective methods.
So, straight up as we are heading on a mission to make your charging port sparkle, ensuring that your phone charges as swiftly as your life moves. From everyday household items to expert-approved techniques, we’ve got you covered. Let the cleaning commence, and let’s elevate your smartphone experience to dazzling heights!
Preliminary Checks: Assessing the State of Your Cell Phone Charging Port
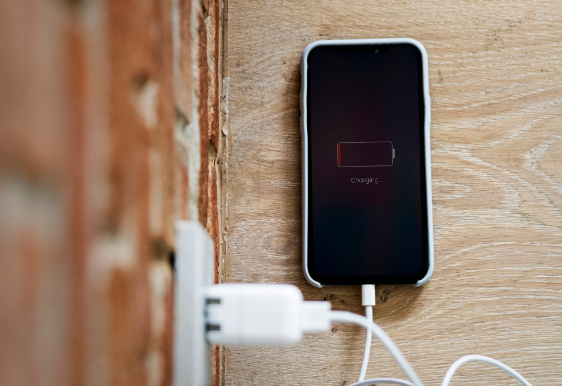
Your cell phone charging port is the unsung hero of your device, ensuring a steady flow of power to keep you connected. However, it’s often overlooked until problems arise. Before diving into cleaning methods, let’s embark on a quick journey of preliminary checks to gauge the health of your charging port.
Did you ever hear the myths about charging? You probably had! Read our blog to get onto a comprehensive guide on what myths should you know about charging?
Why Does It Matter?
Just as a doctor takes your vitals before prescribing a cure, let’s diagnose your charging port’s health with these easy preliminary checks.
A clean cell phone charging port is vital for seamless power transfer. Accumulated dust, lint, or debris can hinder the connection, leading to slow charging or, worse, a non-functional port. By regularly assessing its condition, you ensure a longer life for your phone and uninterrupted charging.
The Culprits: Dust and Lint
Imagine your charging port as a magnet for tiny, pesky particles like dust and lint. Over time, these accumulate and form a barricade, disrupting the power flow. Identifying and addressing this issue is a crucial step in maintaining a healthy charging port.
DIY Inspection Techniques
Dust and lint, the silent villains of your charging port saga. Let’s unveil their hiding spots and give them an eviction notice!
- Use a flashlight to peer into the port and spot hidden debris.
- Gently blow into the port or use a can of compressed air to dislodge loose particles.
- Employ a thin, non-metallic tool like a toothpick or plastic pick to carefully remove stubborn lint.
Why Corrosion and Water Damage Matter?
Water and electronics don’t usually make the best companions. Corrosion and water damage can spell disaster for your charging port, leading to malfunctions and irreversible harm. Identifying these signs early can save your phone from a watery grave.
As Asurain also quotes:
“Using sharp metal objects like safety pins, paper clips, or knives can scratch your phone’s delicate components or even chip and break off inside the port”.
Red Flags to Look For
Your phone’s worst nightmare: a rendezvous with water. Let’s play detective and decode the cryptic messages of corrosion and water damage.
- Discoloration or rust around the charging port.
- Unusual behavior, such as erratic charging or intermittent connections.
- Error messages indicating moisture detection.
Precautionary Measures
- Avoid charging in humid environments.
- Invest in a water-resistant phone case for added protection.
The Essential Tools: Gathering Materials for a Victorious Clean
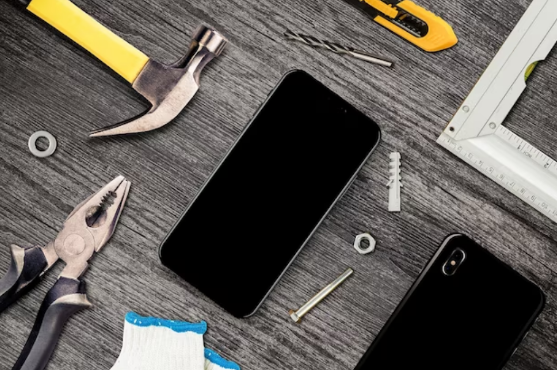
Are you ready to head onto a journey where you can clean your cell phone like never before? Having the right tools is half the victory. From microfiber magic to high-tech scrubbers, let’s explore the important tools that will transform your cleaning routine.
Say goodbye to lackluster cleaning sessions and hello to a toolkit that speaks volumes. We’re not just talking; we’re diving into the world of gadgetry that’ll leave your surfaces gleaming and your spirits soaring. Ready to upgrade your cleaning game?
Let’s roll up those sleeves and discover the game-changers that will redefine the way you clean.
Choosing the Right Cleaning Tools
Ever felt frustrated in the cleaning process, we’re here to deflate the art of choosing the perfect cleaning tools that fit accordingly. It’s not just about grabbing the first mop you see; it’s about selecting tools that sync seamlessly with your cleaning style.
According to Medium:
“If the basic checks and software-related solutions haven’t resolved the issue with your broken charging port, it’s time to move on to a physical examination and potential repair. This section will guide you through the steps of inspecting the charging port of your mobile phone and exploring potential issues that may require your attention”.
Understanding the Do’s and Don’ts of DIY Repair
According to AVG.com:
“To remove sand, dust, or other hard-to-see debris, an air compressor is your best bet. Try cleaning your charging port by gently loosening sand with a toothpick first. If your iPhone charging port is still not working, try compressed air”.
Think of it as your personal tech repair survival guide. From dismantling gadgets like a pro to avoiding common pitfalls that could fry your circuits, we’ve got the lowdown on navigating the delicate dance of DIY repairs. Get ready to tinker, troubleshoot, and triumph in the world of DIY tech repair!
Step-by-Step Guide: 5 Easy Ways to Clean Your Charging Port
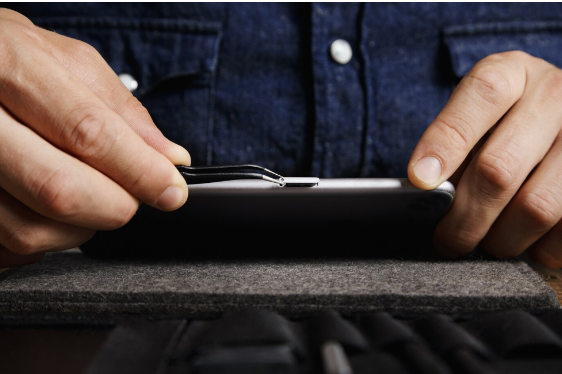
Welcome to our in-depth exploration of the essential task of cleaning your phone’s charging port. In this comprehensive guide, we will unveil five sophisticated methods to rejuvenate your device’s lifeblood. Buckle up as we delve into the intricate details of each method, ensuring a thorough understanding of the art of charging port maintenance.
Method 1: Gentle Cleaning with a Toothpick
Heading to the journey of port revival and it begins with Method 1. This method, though seemingly simple, requires finesse. Discover the delicate dance of using a toothpick for cleaning without causing harm. We’ll unravel the nuances of navigating the port’s contours, ensuring that every nook and cranny is free from the clutches of debris. This gentle approach guarantees a meticulous cleanse without jeopardizing the integrity of your device.
1) Prepare a Clean Environment
Ensure you’re in a well-lit and clean area to avoid introducing more debris.
2) Turn Off Your Device
Power off your device to prevent any electrical mishaps during the cleaning process.
3) Inspect the Port
Gently inspect the charging port for visible debris. Identify areas that need cleaning.
4) Use a Toothpick
Take a wooden or plastic toothpick and carefully insert it into the port. Gently scrape and dislodge any visible debris.
5) Avoid Force
Be gentle and avoid using excessive force to prevent damage. Move the toothpick around to cover all corners of the port.
6) Inspect Again
After cleaning, inspect the port again to ensure all debris has been removed.
Method 2: Blowing Away Dust with Compressed Air
Wikihow quoted:
“Start by laying a round cotton pad or cotton ball onto a flat surface. Then, insert your toothpick into a very thin layer of the cotton at a 20-degree angle. Holding the cotton down with one hand, twist the toothpick until a small amount of cotton wraps around its tip. Do this to both ends of the toothpick, if possible”.
For those seeking a more dynamic solution, Method 2 introduces the prowess of compressed air. Bid farewell to microscopic intruders as you harness the power of air to blow away stubborn dust particles. Our guide will detail the strategic angles and pressure needed to perform a precise and effective cleansing ritual, leaving your charging port refreshed and ready for action.
1) Choose the Right Compressed Air
Use a can of compressed air with a narrow nozzle for precision.
2) Turn Off Your Device
Power off your device to prevent electrical issues.
3) Hold the Device at an Angle
Hold your device at a slight angle, allowing debris to fall out easily.
4) Use Short Bursts
Apply short bursts of compressed air into the charging port, aiming at different angles.
5) Inspect for Residue
After blowing air, inspect the port for any remaining dust particles. Repeat if necessary.
Method 3: Using Isopropyl Alcohol for Deeper Cleaning
Method 3 takes the cleaning process up a notch with the introduction of Isopropyl Alcohol. Delve into the realm of advanced port maintenance as we guide you through the application of this powerful solvent. Uncover the secrets of safely and effectively using Isopropyl Alcohol to dissolve grime and ensure a deeper, more thorough cleanse. Elevate your charging port maintenance game with this method designed for the tech-savvy.
1) Power Off Your Device
Ensure your device is turned off to avoid any electrical hazards.
2) Dilute Isopropyl Alcohol (If Needed)
If using a high-concentration alcohol, dilute it with a bit of water to around 70% concentration.
3) Apply Alcohol to a Cotton Swab
Dampen a cotton swab with the diluted isopropyl alcohol. Avoid excessive moisture.
4) Gently Clean the Port
Carefully swab the charging port, ensuring the alcohol reaches all areas. Allow it to air dry.
5) Inspect for Cleanliness
After drying, inspect the port to ensure it’s free from grime and residue.
Method 4: Safely Addressing Corrosion Issues
Corrosion can be a formidable foe, but fear not—Method 4 is here to equip you for battle. Explore the intricacies of identifying, addressing, and preventing corrosion issues in your charging port. Our detailed walkthrough will empower you to take proactive measures, ensuring your port remains corrosion-free and your device charges without impedance.
1) Identify Corrosion Signs
Look for green or white deposits in the charging port, indicating corrosion.
2) Prepare a Cleaning Solution
Mix baking soda with a small amount of water to create a paste.
3) Apply Paste to Corroded Areas
Use a cotton swab to apply the paste to the corroded areas. Gently rub to remove corrosion.
4) Wipe with Isopropyl Alcohol
Dampen another cotton swab with isopropyl alcohol and clean the port to remove any remaining residue.
5) Inspect and Prevent
Inspect for cleanliness and consider preventive measures like using a protective case.
Method 5: DIY Rescue for Water-Damaged Ports
Method 5 serves as your beacon of hope in the face of water-related charging port mishaps. If your phone has taken an inadvertent plunge, fear not—our guide will navigate you through a DIY rescue operation. Learn the strategic steps to salvage your device and mitigate potential damage. This method is a lifeline for those seeking to turn the tide on water-induced charging port challenges.
1) Act Quickly
If your device gets wet, power it off immediately to prevent electrical damage.
2) Remove Excess Water
Shake the device gently to remove excess water. Avoid vigorous shaking to prevent further damage.
3) Dismantle if Possible
If you’re comfortable, remove the battery (if applicable) and open any accessible ports to allow for better drying.
4) Use Desiccants
Place the device in a bag with silica gel packets or uncooked rice to absorb moisture. Leave it for at least 24 hours.
5) Power On and Monitor
After drying, power on your device and monitor for any unusual behavior. If issues persist, seek professional help.
Pro Tips for Long-Term Maintenance: Keeping Your Charging Port Pristine
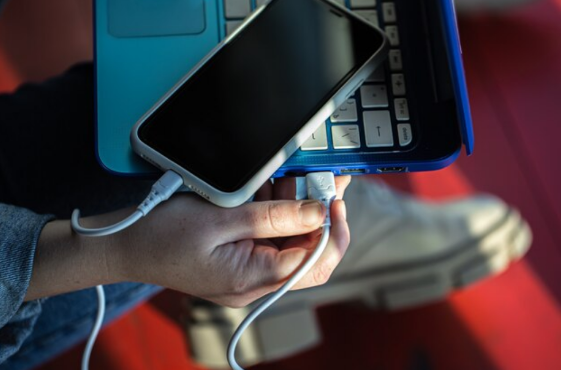
Maintaining the longevity of your device requires more than just a quick clean. Dive into the world of expert advice with these Pro Tips for Long-Term Maintenance to ensure your charging port remains in impeccable condition. Because, let’s face it, a pristine charging port equals a happy and healthy device!
As Techradar quoted:
“Avoid using your mouth to blow air into your phone’s charging port. While this might seem like an effective, cost-free solution, it’s difficult to replicate the air pressure of a compressed air canister or a silicone air blower without also blowing unwanted moisture from your mouth into the port, too”.
Consulting with Tech Support
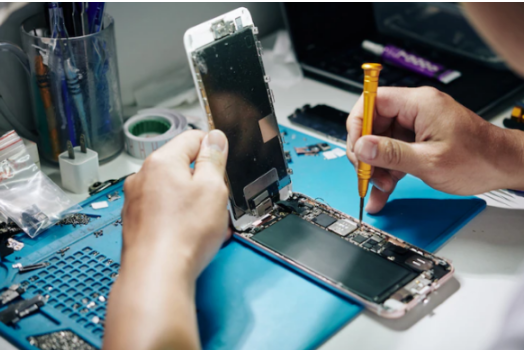
When all else fails, it’s time to seek professional guidance. Gain insights into effective communication with tech support, ensuring a smooth resolution to your charging port woes.
As Pandasecurity also quotes:
“You must not use anything except a toothpick for this job. Pins, paperclips, needles etc may fit in the hole – but because they are metal, you risk making an electrical short circuit that could destroy the phone. A wooden toothpick does not have this problem – and it is also softer, and less likely to cause physical damage to the phone”.
Final Verdict
In the hustle of our digital lives, a clean and functional cell phone charging port is paramount. These five easy cleaning methods offer simple yet effective ways to maintain optimal connectivity. Whether you opt for the Business Card Trick, Toothpick Tango, Compressed Air Symphony, Cotton Swab Elegance, or Isopropyl Alchemy, the goal is the same – a spotless charging port. By incorporating these techniques into your routine, you ensure a seamless connection for your device, allowing it to keep up with the demands of your daily life. So, embrace the simplicity of these methods and keep your smartphone running smoothly. Happy cleaning!
If you want your Android phone or iPhone to be repaired, visit our phone repair store in Houston.


